Please note there is a known bug with the latest Android update. Android app may show “Max User” when attempting to load a NVR for the first time.
This KB Article will walk you through the process to setup a mobile device to connect to your Hanwha Wisenet A-Series, Q-Series and X-Series NVR. This will allow remote viewing and downloading from an Android or iPhone device.
Please note this does not apply to Hanwha/Wisenet WAVE. The WAVE Platform is different than the Wisenet NVR, and these instructions will not work.
1. Download the Wisenet Mobile App #
- iPhone – Go to the AppStore here.
- Android – Go to the Play Store here.
2. Open the App #
- Allow Camera & Push notifications if desired
- You should be prompted to scan a QR Code. This is your system ID
3. Enter System Information #
- Scan the QR code for your system. You can find this QR Code on the settings page, or in the documentation provided with your system when we installed it.
- Proceed to step four (4) if you scanned the QR code, or read below if you need to enter it manually.
- If you can not scan the QR code, you have the option to enter the system ID manually.
- Click Manual
- Enter the system name, Product ID (system ID from the QR code or your installation documentation from CMG)

4. Sign In #
- Enter your username in the “ID” field. For most cases, this will be “admin”.
- Enter your password. This will be on the installation documentation provided by CMG at the time of install.
- NOTE: If you do not know your password a system reset will be required.
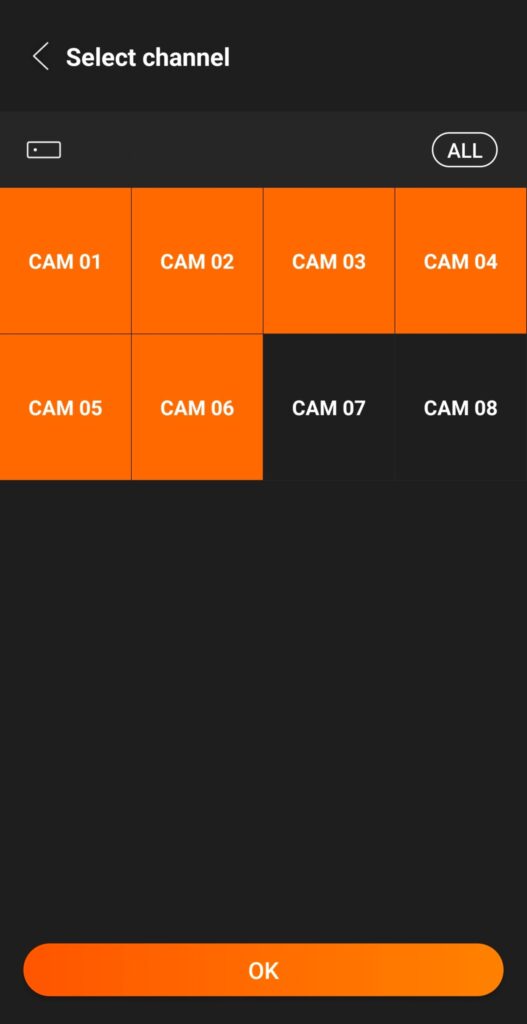
5. Select Channels #
- Select your active channels.
- If you are using all channels on your system, leave this as default.
- If you are only using a few, select them so the empty channels do not show up on your feed in the app. They can always be enabled later.
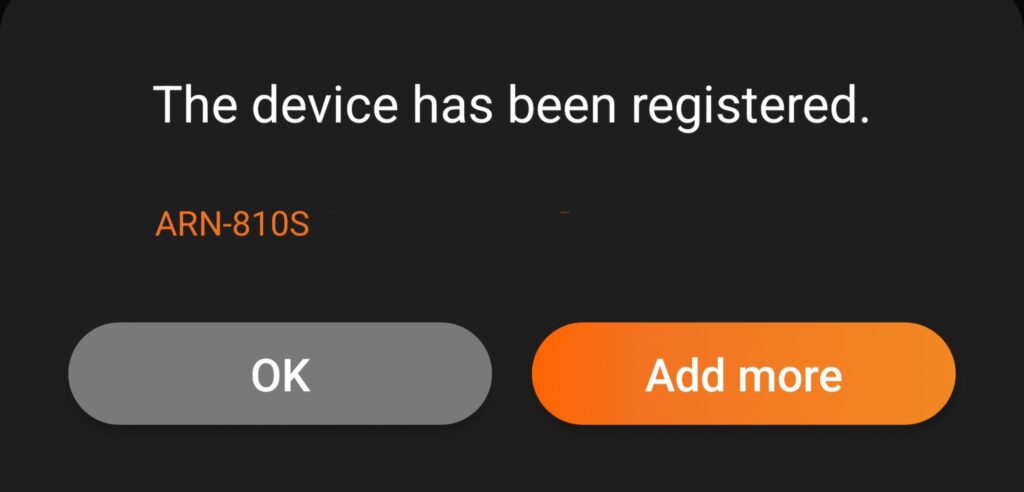
6. Confirmation #
Congratulations, your system is now registered on your phone. If this doesn’t work, or if you have any issues, please reach out to the helpdesk for more assistance. We will be releasing more KB articles regarding this system, so please check back soon.